How to Delete Weather⁺. save (150.73 MB)
Published by Impala Studios on 2024-10-22We have made it super easy to delete Weather⁺ account and/or app.
Table of Contents:
Guide to Delete Weather⁺ 👇
Things to note before removing Weather⁺:
- The developer of Weather⁺ is Impala Studios and all inquiries must go to them.
- Check the Terms of Services and/or Privacy policy of Impala Studios to know if they support self-serve account deletion:
- The GDPR gives EU and UK residents a "right to erasure" meaning that you can request app developers like Impala Studios to delete all your data it holds. Impala Studios must comply within 1 month.
- The CCPA lets American residents request that Impala Studios deletes your data or risk incurring a fine (upto $7,500 dollars).
-
Data Used to Track You: The following data may be used to track you across apps and websites owned by other companies:
- Location
- Identifiers
- Usage Data
-
Data Linked to You: The following data may be collected and linked to your identity:
- Location
- Identifiers
- Usage Data
- Diagnostics
↪️ Steps to delete Weather⁺ account:
1: Visit the Weather⁺ website directly Here →
2: Contact Weather⁺ Support/ Customer Service:
- Verified email
- Contact e-Mail: feedback@impalastudios.com
- Support channel
- Vist Terms/Privacy
3: Check Weather⁺'s Terms/Privacy channels below for their data-deletion Email:
Deleting from Smartphone 📱
Delete on iPhone:
- On your homescreen, Tap and hold Weather⁺ until it starts shaking.
- Once it starts to shake, you'll see an X Mark at the top of the app icon.
- Click on that X to delete the Weather⁺ app.
Delete on Android:
- Open your GooglePlay app and goto the menu.
- Click "My Apps and Games" » then "Installed".
- Choose Weather⁺, » then click "Uninstall".
Have a Problem with Weather⁺? Report Issue
🎌 About Weather⁺
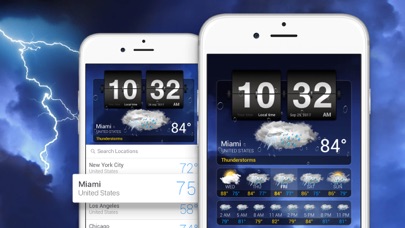
1. You can remove the locations you added in your location overview, which is accessed by tapping on the magnifying glass symbol in the top left corner.
2. Here you can either swipe the location to the left and press the red delete button that appears next to it, or use the Edit button that is found at the bottom of the page.
3. You can add a city by tapping on the magnifying glass symbol in the top left corner.
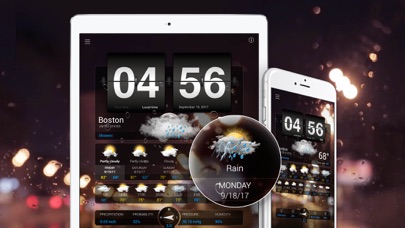
4. The app selects a random video from a pool of weather videos that match the weather for the report you’re currently viewing.
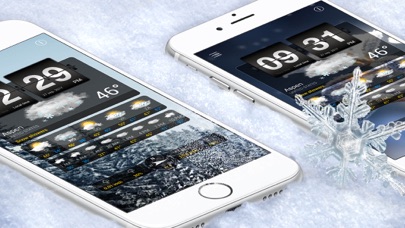
5. To switch between, you can simply click on the ‘Your time’ and ‘Local time’ options located on the hour section of the clock.
6. To edit or change this, you can just reorder the cities in your location overview on your iPhone.
7. It’s handy to know that the first location added to your list is set as the location on your Apple Watch.
8. Check your favorite location and multiple locations worldwide.
9. You can expand this pool of videos by unlocking videos in the menu screen, which is done by watching a short ad per video.
10. The Edit button also allows you to change the order of your locations.
11. Congrats! You’ve added the city to your locations.
12. Here you can enter the city you want to add, and then select the correct result below it by tapping on it.
13. In the settings you can switch between ‘Your time’ and ‘Local time’.
14. Unfortunately, you can’t manually select a video to play as a background.